Sunday 26 June 2022

Nixie Clock!

I've wanted a nixie clock for a long time.  A good mate and I talked about doing it over 10 years ago now - and he ordered some IN14 nixies that arrived and sat on a shelf until a couple of weeks ago when he mentioned he'd come accross them.  This was all either of us needed to finally order some clock kits and get going.  So I ordered two of the IN14 kits from nixie diy.  They took a couple of weeks to arrive.  We met up this week to swap some nixies for a kit - and I got a couple hours to sit down this morning and built the clock - and it is fricken awesome.   All through hole work with the only surface mount part pre-soldered on the kit when it arrived.  The manual for the kit is well laid out with some keey points to stop and test the build as you go.  So there was nothing to it but to dust off the soldering iron and get going!


From left to right:  Kit, acrylic case, 6 nixie tubes in bubble wrap.


Shot of the bare PCB before I started:

I completed the low and then high voltage supply components and test the high voltage (between 165-170v).  Passed first go!


I kept soldering until the next test point - all six blue LEDs.


And it was then time to have a go at the nixies.  I was a little nervous with these things but it ended up being all pretty straight forward (just a little fiddly given how bent up the legs were).


I powered the clock on at that point and to my suprise it worked exactly as expected.  When you first power the clock up it goes through a test cycle that showed that all tubes were 100% functional.  I then pulled the protective film off all of the acrylic and put the case together.  And that's it!


A video of the startup sequence to round this one out:

Sunday 7 February 2021

Rolling your own Marlin build

So I wanted to have a crack at rolling my own firmware build for my Ender 3 V2.  Marlin is pretty awesome - and setup in a way that makes it pretty user friendly.  I would start with this video from Teaching Tech.  He goes through how to build your own firmware - which I 100% used as a base.  I did a few things slightly differently and probably will continue to tweak as I go.  If you just use his video and follow it you will absolutely end up with a useable firmware.  This post is as much for me as anyone else that might stumble across it - on what options I used.  

So start by making sure you have git and Visual Studio Code installed and up to date.  Open code and install the PlatformIO IDE extension:

I then checked out the Marlin code and switched to the bugfix-2.0.x branch that Teaching Tech suggests in his video:

git clone https://github.com/MarlinFirmware/Marlin.git
git checkout bugfix-2.0.x

You could skip this and just download the zip file of source from GitHub like the video - I just tend to default to using git.  I then downloaded the configuration zip that is mentioned in the video (you can find it in the /config/readme.md) and has a bunch of configs for different printers - I used the bottom one as that matches the branch I am using:


I then extracted the zip and jumped to:

\Configurations-bugfix-2.0.x\config\examples\Creality\Ender-3 V2

I copied the contents of this directory to Marlin directory, inside the Marlin folder when I checked the code out.  Overwrite any files that already exist.

At this point I flicked back to code and opened the folder I had just created when checking out Marlin.  There are a couple of config options you need to edit as suggested in the video, the three files and the options I changes are:

\Platformio.ini
Changed default_envs to be this to match my Ender 3 V2 with the 4.2.2 board:

default_envs = STM32F103RET6_creality

Marlin\src\Configuration.h
Find the following lines and uncomment to enable my BLTouch:

#define BLTOUCH
#define AUTO_BED_LEVELING_BILINEAR
#define Z_SAFE_HOMING

Find the following line and uncomment and change the offsets to match those of the BLTouch mount I used off thingiverse (in the description on that page):

#define NOZZLE_TO_PROBE_OFFSET { -42, -10, 0 }

Marlin\src\Configuration_adv.h
Find the following line and uncomment:

#define BABYSTEP_ZPROBE_OFFSET 

You are now ready to try and build.  Click the little "tick" in the bottom bar in code and the build will kick off.  The very first one you do will take a couple of minutes while it downloads a few bits - but subsequent builds should be 30 seconds or so.  

The firmware file created will be in:

\.pio\build\STM32F103RET6_creality

You want the firmware-[date]-[time].bin that matches the timestamp of when you just did the build.  Copy this file over to an empty micro SD card and whack it in the printer.  Turn it on, and it will update and when finished jump to the menu.  You can check the version by going to Control and then Info down the bottom:


At this point I also updated the LCD firmware too - since I could (I'm not actually sure how to check it's version - so just did it anyways).  The video is a better guide here and I did exactly as suggested - copied the DWIN_SET folder from the config examples directory over to an empty SD card, took the LCD apart and put it in the SD slot and turned the printer on.

Any nothing happened - it just booted up like normal. 

After a minute trying a few things I took another look at the SD card and it was formatted FAT and not FAT32.  I re-formatted the card FAT32, copied the DWIN_SET folder back over and tried again and it worked first go.

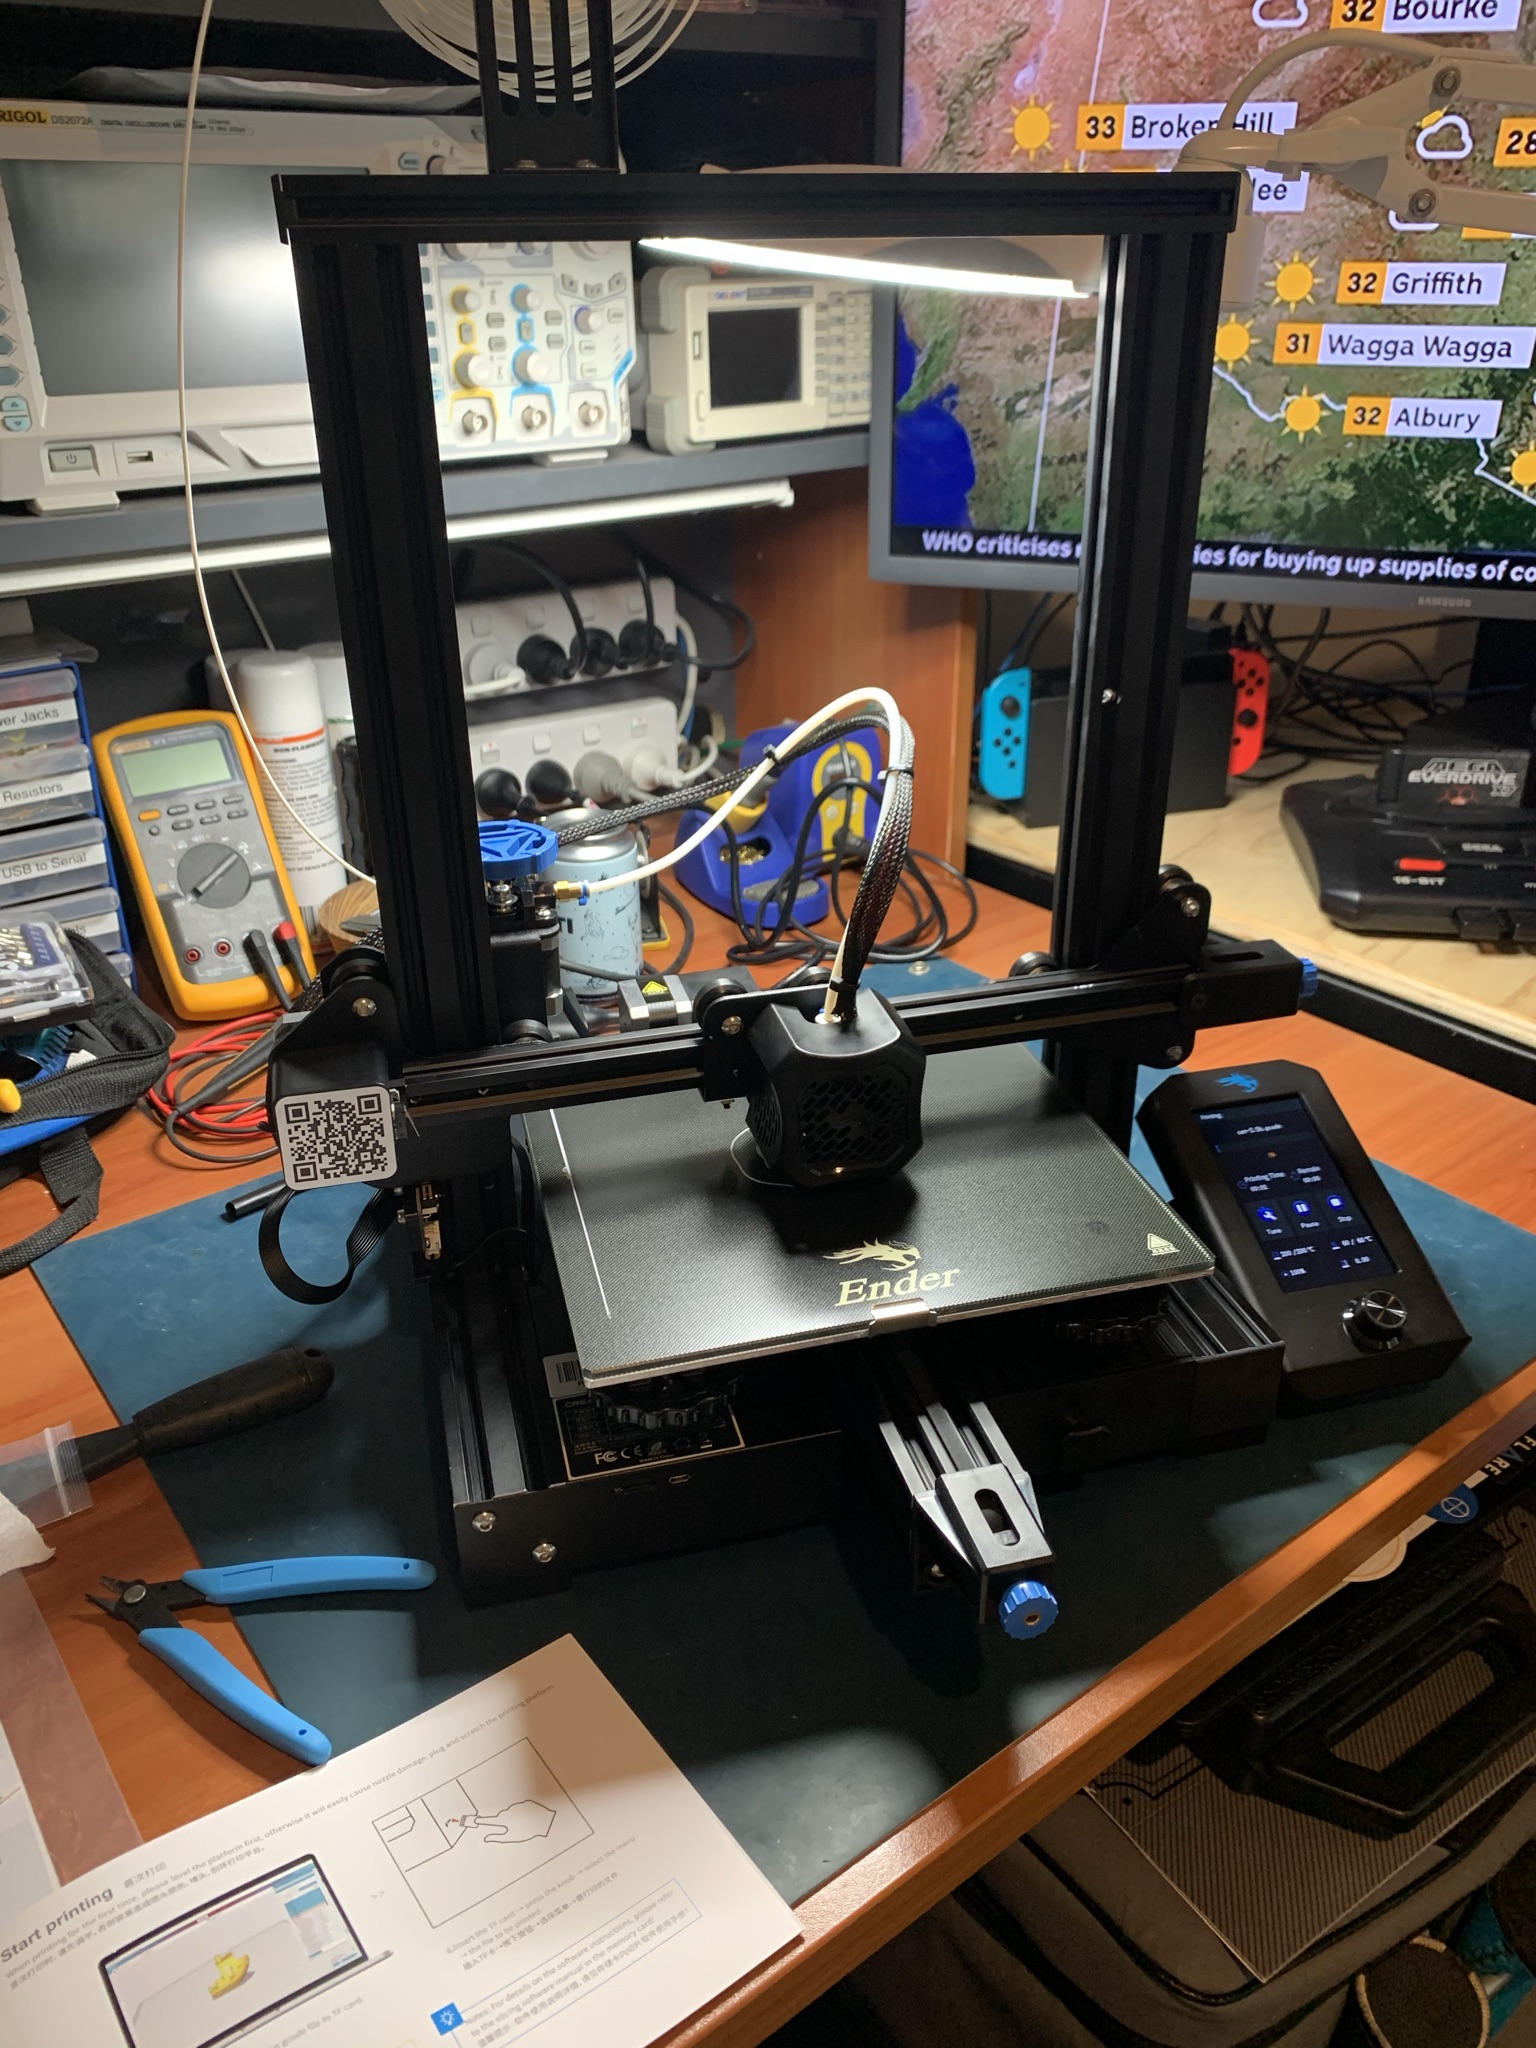
At this point I had a printer ready to setup.  I reset all settings as suggested in the video by going to Control and then Restore Defaults, and then hit Store Settings to save a fresh copy.  I then tried an auto home and while X and Y worked fine - Z with the BLTouch did not.

Turns out the way the firmware is configured by default and the way Teaching Tech does it in his video too meant I needed to change my BLTouch connections on the control board to put the Z Stop into the ZStop sensor header on the board (previously I had it all in the dedicated BLTouch header).  The black/white pair below:


This makes sense - to leave it all in the dedicated BLTouch header I'd need to change the pin setup in the config files for the Z Stop.  Creality must do this in their build config as using their stock BLTouch enabled firmware only worked with the BLTouch wired to the header as mine was initially.  I switched this wiring over and the ZStop / BLTouch worked as expected.  

I did an autohome and then a bed level.  I then set the Z offset as discussed in the last post about the BLTouch.  It was slightly different this time (-1.97 vs -1.99) but I did have to move the printer around a bit to get at the control board to change the wiring.

I now have a printer that prints exactly as it did before... :)  But it is running firmware I built - that I can continue to tweak as I learn!

Tuesday 26 January 2021

Bed levelling upgrades

 So after getting the filament sorted - the next thing to look at was bed levelling.  I was trying to get a consistent first layer - and unsurprisingly Teaching Tech had a video and a whole website devoted to bed levelling!  He goes through it in the video but his site generates a gcode file that will print 5 squares by default to help you see if your first layers will go down consistently in each part of the bed.  

This alone helped me quite a lot - prior to this I was just doing the manual bed level and kicking off a print.  What I was finding though was that I couldn't quite get it perfect - and it was changing a little each day.  I'd get it pretty good, do a bunch of prints that were ok and then come back a day or two later and need to re-level again.  

So I've done my first two upgrades!  The first was a spring and levelling nut upgrade kit.  This was super easy to put in - and very much holds the level that is set longer than the stock springs/wheels did for me at least:


Once this was in I levelled again and tried the first layer gcode from Teaching Tech's site with pretty awesome results:


The bed itself is not perfectly flat as covered in the video - plus I really like the idea of being able to programmatically auto bed level - so I bought a BLTouch too :)

This one is a slightly more detailed install - I printed a mount off thingiverse and got to work installing the BLTouch.  I installed the mount, mounted the BLTouch and ran the extension cable to the control box underneath using the existing cable sleeve.  It's worth noting you need to order an extension cable if you buy a BLTouch for an Ender3 V2 - the default cable length is way too short.  I cut the 2m cable and re-terminated it to the right length - about 1.5m would be perfect.  You could easily just loop that last bit up though if you don't want to re-terminate the cable.  The other cool bit is that the the new control board in the Ender 3 V2 has a dedicated port for a BLTouch - no adapter board on the display port required so it's plug and play.  


All guides recommend you disconnect the Z axis stop when you add a BLTouch as it becomes the Z stop.  I didn't initially and saw why people suggest this needed to be done - the Z stop switch did occasionally trigger and the BLTouch/printer can't handle it and bugs out.  So I have now unplugged my Z stop switch :)  The last bit required to get going with the BLTouch is a Marlin build with it enabled.  

This is another rabbit hole that I am currently exploring - custom firmware.  That's a future post though.  For the moment Creality do produce a firmware build with the BLTouch enabled.  Going to the Creality site, the downloads section and then selecting the Ender 3 V2 gives you a bunch of files that are a. little confusing on first glance.  I actually flashed the wrong firmware because I didn't understand this and thought I was just grabbing the latest firmware - not realising it was for a different board revision.  After flashing this wrong firmware the printer would just boot to a blank screen.  

So as of writing the filenames are something like:

4.2.2 Ender-3 v2 Marlin2.0.1 BLtouchV1.1.1without adapter board firmware.rar

The first set of numbers are the board revision (I have a 4.2.2 - and not a 4.2.7 as I initially downloaded).  As mentioned this board has a dedicated BLTouch port too - no adapter board required - which is also mentioned in the filenames.  So go for the one that says without adapter board.  

Luckily nothing was bricked - I just had to grab the right firmware (filename above) and put it on an empty micro sd card and name it something new (the Ender bootloader needs a unique filename to flash a new firmware).  This brought the printer back to life with a new "Level" option on the main menu and the BLTouch initialising when you turn the printer on:


So at this point I hit the level option on the menu - and I have to say it's pretty awesome watching your printer setting a level mesh.  This failed the first couple of times thanks to the Z Stop switch still being connected and triggering once or twice as mentioned above.  Unplugging it fixed that.  

The last part is setting the Z Offset.  This is the difference between where the BLTouch triggers and your nozzle/hot end.  Again Teaching Tech has an awesome video explaining this - but he uses custom firmware with a Z Offset tool (which I don't have just yet).  I just used the auto home option (which will set the printer up to where it thinks it at zero including any z offset) and then adjusted the z offset there to get it to the right height for my setup (-1.99 for me) with a bit of paper like manual bed levelling.  

A word of warning - you are supposed to be able to live adjust the Z offset during a print - and I 100% have the option in the stock firmware I am running at the moment and tried it but the printer didn't seem to like it too much.  It went down way to much when I was adjusting it just 0.01 at a time killing the print.  This was confirmed by stopping the printer and trying the exact same setting before starting a print which would work.  So I stuck to setting the Z offset prior to any prints.

The end result is some super stellar first layers - they go down smooth and consistent across the bed with the perfect amount of "squish"!


Sunday 24 January 2021

Filament matters

So one of the first things friends who already had printers told me was don't skimp on the filament - which is exactly what I did.  When I ordered the printer online I also ordered the cheapest white filament I could find online.  

I did my first 3 or 4 prints with the sample filament that came with the printer and it worked pretty well with the default bed and nozzle temps.  When it ran out I swapped it out with the filament I had bought and low and behold - it was pretty crappy.  Lots of stringing and the first layers weren't great.  I changed the temps around a bit and it got a little better - but still wasn't great.  So after chatting to the same friends and telling them they were right they recommended 3dFillies.  

They shipped really quickly and came in individual resealable bags with moisture absorbing sachets.  I've done all my printing with their filament since (I got a roll of white and and a roll of black PLA+) and it's awesome.  I printed  a tool mount and filament guide in black for the printer and they both turned out great (comparison of the tool mount with the cheaper PLA I got first):


I've been told their silk filament is awesome too - so I'll try some of that at some point in the future too.


Friday 22 January 2021

Getting started with 3d printing!

It's a bit of a running joke that I have been waiting for my 3d printer since 2017 - this one.  It's very obviously never going to show up - and even if it did it would be so out of date now 4 years after design.  So I finally got through the five stages of grief this Christmas and got an Ender 3 V2!

This is the latest revision of the popular Creality Ender 3 series - with a new 32 bit board with a bunch more storage and quiet motor drivers stock.  It also has an updated colour LCD, power supply moved down the bottom instead of on the side and a few other little bits.  I ordered the printer from an Australian reseller and it showed up in a few days.

The packaging is awesome - all very neat and tight:


The printer comes partially assembled - following the included instructions I had the printer together and powered up in about an hour - in between making my kids breakfast:


At this point I had a crack at bed levelling manually with a bit of paper.  Simple as doing an "autohome", disabling steppers in the menu and then moving the head to the four corners of the bed manually.  In each corner you need to slide the bit of paper between the bed and the head adjusting the bed up and down using the levelling wheels below the bed so that the paper just catches.  I did a couple of rounds of this and was then keen to try a print with the included filament as is.  The micro sd card comes with two gcode files - a cat and a dog.  I printed both:


For first prints "out of the box" I was pretty impressed.  I know some have had varied results out of the box like this but mine were pretty awesome.

At this point I realised I probably needed to watch a couple of videos and read a few blogs about what the heck I was doing.  By far the best resource I was recommended so far is Teching Tech on YouTube.  He has a bunch of awesome videos.  This video is a great primer for anyone who just bought their 3d printer - I should have watched it and a few others first but where's the fun in that.  

At this point I installed Ultimaker Cura and created a profile for my Ender 3 V2 (as there isn't one in the Cura just yet) using this page as a guide.  You take the base Ender 3 and change a few settings for the Ender 3 V2.  I left the print settings alone for the moment and have just been using the default print setting profiles in Cura (all on Standard Quality to start with).  

Overall I am stoked with how good this thing is out of the box for a 3d printer n00b like me.  It's been printing most days since I got it - to balance printing with the huge list of possible upgrades and learning I'm doing!

Tuesday 17 April 2018

Tandy Portable Disk Drive 2

So following along from getting my REX installed and playing with it, the next addition for my little M100 kit was a Tandy Portable Disk Drive 2:


As the name suggests, its a portable 3.5" disk drive that goes with the Model 100, can run on AA batteries or 6V DC and reminds me very much of a top loading VCR we owned a long time ago.

The drive itself appeared in fantastic cosmetic condition when it arrived - however it did not come with the serial cable to connect it to the M100 nor any disks.  I didn't think the missing cable would be a huge deal - but as it turns out I should have asked the question before purchasing the drive.  The cable is not just a straight serial cable, and has to adjust some of the voltage levels between the M100 and the drive to get things to work.  I started looking online at the documentation people have produced around making your own cable.  It was at this point someone very kindly offered me a spare cable that they had excess to their needs and posted it to me.  To that individual - thank you!

Once I had that cable I was ready to give the drive a good clean and service.  I had also ordered a replacement drive belt and some double sided, double density disks in the meantime too - which had also arrived.  The drive will only read one side of the disk, and only format it to 200K, but they work.  The drive only requires a few screws be removed for the plastic case to come off:


With the top, bottom and front plastic casing removed, the drive came out as a single unit.  It was at this point that I gave all of the plastics a good clean.  Removing a few more screws allowed the shielding to come off and the main PCB was revealed:


Removing one more screw allowed the PCB to be separated from the drive:


As you can see in the photos the drive was very clean inside, which was a nice change.  At this point I replaced the drive belt:


You can see how stretched the old one was compared to the new one.  I also lubed up all of the mechanical parts in the drive.  I then turned my attention to the small power supply PCB:


The six capacitors all actually looked pretty good - but I replaced them anyways:


As a last step I gave the drive head a good clean with some isopropyl alcohol and reassembled the drive.  I then grabbed the serial cable and plugged the drive into my M100:


I then turned on my M100, went into TS-DOS, hit F4 to bring up the disk menu and after a brief read of the disk, it showed the disk in the drive as unformatted:


So I formatted the disk - which worked first go:


I then saved a file to the disk, and read it back from the disk.  All worked as expected:


I now own a vintage portable storage solution for my M100!

Monday 26 March 2018

M100 REX

My last post was about the SuperROM that I received with one of the M100's I purchased.  Now that my M100 was fully functional I started to look at what little extra bits might be fun to play with.  One of the major bits was the REX.  The summary of the REX taken directly from the wiki:
  • REX allows for storage and quick, easy switching between OPTION ROM images. Once the binary software images are loaded into REX, the user can easily jump back and forth between different applications.
  • REX provides the ability to backup and swap working RAM images. At the press of a key, your current RAM contents are saved in REX. Furthermore, you can reload any saved RAM image for use. This creates a library of RAM images, which has a number of uses. This offers an easy way to quickly backup all RAM to flash, or switch between multiple snapshots of RAM. It is like having multiple laptops in the same case!
  • REX includes an interface to TPDD devices (like TPDD, NADSbox, LaddieCon etc) for loading and saving binary images to external storage.
  • REX modifies they way MENU displays the date, effectively fixing the Y2K 'bug'.
I didn't realise how awesome the REX was until I got one:


As stated above it adds both different OptionROMs which itself is pretty awesome as the M100 community has developed some pretty awesome custom OptionROMs for the M100.  The extra tools and updates/bug fixes in some of the OptionROMs blew me away.  The REX also adds some flash storage to backup and restore the flash contents of the M100.  Remembering the M100 has no persistent storage - if the main batteries and backup battery all go flat you lose all your data.  This is super handy.  I plugged it in and loaded it up.  The new menu looks pretty cool (with the correct date thanks to the Y2K fix):


It's super easy thanks to the built in menu of the REX to change OptionROMs or save/restore multiple flash contents.  This little guy will come in super handy playing around with my M100 - thanks to all that worked to make the REX a reality!

Saturday 27 January 2018

PCSG SuperROM

As mentioned briefly in my last post - I ended up with  Portable Computer Support Group (PCSG) SuperROM.  This guy is a ROM addon for the Model 100 that includes four additional applications:

  • Lucid
  • Write Rom
  • Thought
  • Lucid Data
I found the scanned manual for this guy where I have found most of the scanned manuals I need - the Club 100 Library page.  It's a pretty basic install and setup.  Power the 100 off (not the memory power switch - just the main switch), flip the device over and open the expansion bay:


The top is the system bus, the bottom is the expansion ROM slot where the SuperROM goes - simply push it in:


From there flip the unit back over and power it on.  At this stage you shouldn't see any difference in the display - it should just be the menu you are used to:


If this worked you are good, if it didn't maybe try reseating the ROM and try again.  From here to tell the unit the ROM is installed, open the Basic prompt and type:

call 63012

This should open the SuperROM menu:


From here you can open any of the included apps, or jump back to the main (normal) menu by hitting F8.  When you do though you will have an additional menu option "super" which will jump you back to the SuperROM menu:


This stays there as long as the unit doesn't lose complete power (the RAM battery backup).  Pretty handy really.  I'll give the apps more of a test - but they all opened and appeared to run as they should.  #winning

Friday 26 January 2018

Portable retro!

So I have always loved small portable electronics - and retro is no exception.  There is a portable retro machine I have always love the look of - so about six months ago I started searching for one that wasn't going to require me to take a loan.  I found one that was listed as non-working/parts only but great cosmetic condition, going cheap and so I took a punt:


The computer that Bill Gates himself last wrote software for, the Radio Shack TRS-80 Model 100:


It showed no sign of anything when given power and turned on - as stated in the ad.  I left it plugged in for a while, as all the documentation around this guy says the internal battery needs a decent charge for the display to function 100%.  This didn't make a different though (not suprising when you see below).  This thing was cosmetically almost perfect.  No yellowing or scratches - thats a good start.  Better yet it came with this guy:


A "SuperROM" expansion rom (more on this in a future blog post).  Unfortunately this is were the good news finishes.  I opened it up to see what I was dealing with:


I was greeted with a pretty acidic smell and corrosion pretty much everywhere!  I haven't seen something this bad in person before.  Take a look at the ribbon cable connector for the LCD:


Most of the electrolytic capacitors had let go too:


I removed all of capacitors that had let go:


I then cleaned up the board as best I could:


And replaced all of the capacitors.  Unfortunately it made no difference.  No sign of life on the display.  I used the troubleshooting guide (and stopped taking pictures - sorry!), which said start with metering the various voltages put out by the power supply.  None of these were right!  I cheated and instead of trying to diagnose any supply issues, I used my bench supply to provide the various required voltages - unfortunately this too made no difference either.  Every different output i tried to measure, from just checking voltages supplied to chips, to reset lines, data lines and everything in between.  Nothing.

This was just before Christmas.  I left all of this to sit on the bench for a bit while I enjoyed some time with family and friends away from screens of any sort.  At the start of January I had another crack at the board - but couldn't get it to show any signs of life anywhere.  So while I continued to play, I kept looking online to see if I could find another unit that might have a better chance of being brought back to life.  I was lucky enough to find exactly what I was looking for - a unit in "average" cosmetic condition, but in working condition going for a lot less than these things commonly go for - and so I bought it.

This is the first time I have "given up" and not been able to fix something.  This annoyed me a little - but is also a risk you take buying 30+ year old electronics online.  I waited for the second unit to arrive, and got straight to work when it did:


It was quite yellow (more so than shows in the picture above), it had a rattle when I moved it and it also wasn't screwed shut.  However - it worked!  The display wasn't great but I could see what I was supposed to when I powered this guy up - thats a good start!  I took a breath and opened it up to see what this unit might hold.  I wasn't super excited when I took the four case screws out and one of the four was obviously a replacement - and a poor one at that:


The board looked pretty good (I guess anything wold compared to the last unit):


I then discovered what the rattle was, and why the case didn't seem to be screwed shut despite having all four case screws done up tight - two of the stand offs on the bottom of the top half of the case had snapped off and were rolling around inside the case (bottom two corners):


This is what I found rolling around inside:


Looking around for signs of corrosion I didn't see much at all.  The battery looked like it had just started to let go - lucky!  So out it came:


There was a small amount of corrosion on the board - but nothing that didn't clean right off with some isopropyl alcohol:


I put a new battery in, and then had a look at the capacitors.  I couldn't see much - but thought for the small cost of recapping why not rip them out - I'm glad I did:


Most of the ones I pulled out showed signs of letting go like those above.  Again I think i got super lucky and caught these ones just in time!  There are a couple of larger capacitors I didn't have replacements for - so I will come back and replace them in the near future.  From here I decided to take a look around the board more generally.  The DB25 RS232 port on this guy was pretty gross - I don't know what the previous owner had done to it.  The installed RAM expansions also stood out a little:


So since I now have a spare - I thought why not switch them out?  So that's what I did.  I removed the DB25 and soldered RAM from the non-working unit:


I had to remove the DB25 from the working unit, the RAM expansions though are socketed - so just needed to be removed (no de-soldering required).  Once that was done I installed the replacement parts and put the board back in the case from the non-working unit (that was in fantastic condition):


I swapped the LCD from the working unit into the non-working units case (given the corrosion you saw on the connector alone above) and took the keyboard out and gave it a good once over.  At that point I put the whole thing together.  Low and behold - my new working 32K TRS-80 Model 100 computer:


I've got a few things to try with this guy now that it's working - but that will be the topic of another blog post some time soon I hope.

Nixie Clock!

I've wanted a nixie clock for a long time.  A good mate and I talked about doing it over 10 years ago now - and he ordered some IN14 nix...